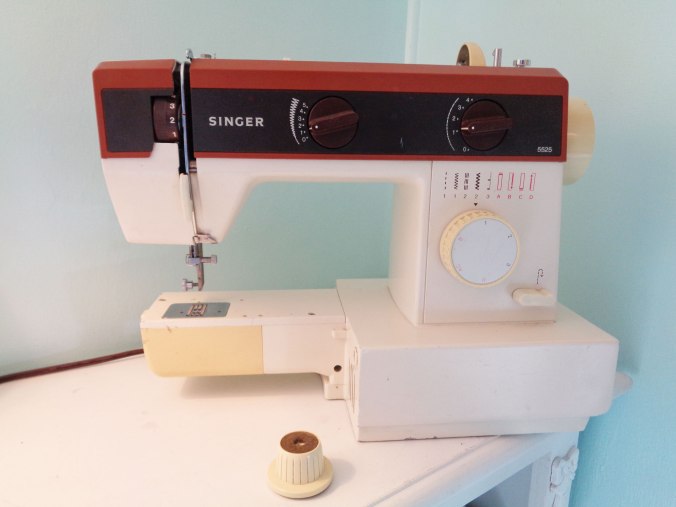
After 35 years of using my “old faithful” Singer, I decided it was time to buy a modern sewing machine. Don’t get me wrong – I love my old Singer… (pictured using a soft, blurry focus to make her look younger)
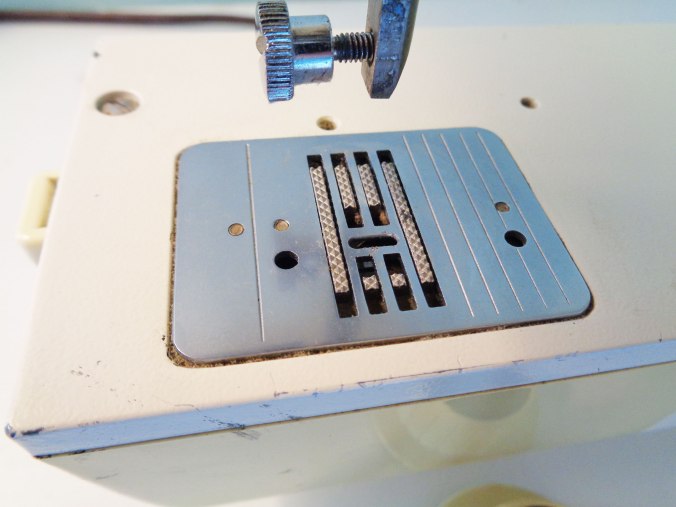
But, I’ve officially lost the feed dog cover and can’t find anywhere to buy a replacement.
I am still going to keep her as the back-up machine, but figured it was time to treat myself to a newer model.
Here were the steps I went thru when deciding which machine to buy.
1. Research all available options: it was over 35 years since I had seriously looked at another machine, so I needed to get up to speed on what was available. I searched online, browsed thru YouTube, went to a local repair shop and asked questions, went to a local sewing shop and asked questions, contacted friend and family and asked questions. At the end of the research phase I knew a lot about what was available – but I was no closer to making a decision. There were just too many options and opinions! So, I went into the narrowing phase.
2. Decide my primary use case : meaning, what is the main thing I want to do with this machine? I sew for a hobby – not a career, so I focused on domestic grade machines. I further narrowed it down by category:
a. general sewing: do I want a machine for crafts and clothing?
b. sewing + embroidery: do I want a machine that can do general sewing AND automatically stitch embroidery patterns?
c. sewing + quilting: do I want a machine that can do general sewing AND free motion quilting?
For me – I chose to get a machine for sewing + quilting. A machine that is good for free-motion quilting will also work for free-motion embroidery. Since I primarily do hand embroidery, free motion embroidery is a good ancillery use-case.
3. Decide my budget: domestic grade sewing machines can range from under $100 to over $10,000. The general rule of thumb is to spend as much as you can afford since sewing machines last a long time and you don’t want to outgrow your machine too fast. However, my old Singer was relatively inexpensive 35 years ago, and it did everything I needed (plus more!) so I decided to keep to a moderate price range ~$500. I can afford more, but I didn’t want to spend more.
4. Make a list of the most important features to you, sorted in order of priority. After all my research, here were the features that I considered most important:
- Harp minimum size of 6 inches: First of all, the “harp” is the area of the sewing machine between the needle and the sewing machine body – in essence your minimal sewing space. You have unlimited sewing space to the left of the needle, but to the right of the needle your space is limited. I found that large harps (over 10 inches) were very expensive and that some machines had harps as small as 4 inches. I have no problem spending time manipulating my fabric to make it fit in smaller areas, and I don’t see myself making king size quilts so a harp of no less than 6 inches helped me stay in my budget, while still accommodating my use case of quilting.
- Easy to drop feed dogs: feed dogs are the little metal bars that move your fabric forward when you press on the pedal. The needle goes up and down, and the feed bars move front and back. When you do free-motion quilting (FMQ) you do not want the feed dogs to move the fabric – you are moving the fabric by hand front, back, left, right, etc… In the old days we used a “feed plate” to cover the feed dogs when we wanted them disengaged. Now, you can choose a machine with a feed plate OR a machine that will lower the feed dogs. I really wanted the convenience of lowering the feed dog, especially since I had previously lost my feed dog cover.
- Top loading and clear plastic bobbin case. My experience with my old machine made this a no brainer requirement. I often ran out of bobbin thread while sewing because I couldn’t easily see how much thread was left and because it was such a pain to pull the bobbin out, check the thread and then re-thread it.
- Auto thread cutting: most machines give you a little “cutter” on the back of the machine where you can manually cut the thread but these types of cutters leave long thread tails that you need to clean-up with scissors or run the risk that the thread tail will get tangled into your other seams. With the auto-cutter the machine snips the fabric very close to the material so you can continue sewing without worrying about the thread tail.
- Auto needle threader: this one is just because I have bad eyesight and can spend too many minutes trying to thread the needle – or looking for the manual needle threader.
- Needle up-down position: this feature allows you to set the machine to always stop with the needle in the down position or in the up position. In my previous machine I raised or lowered the needle by hand at the end of every seam. When I make small projects this isn’t a big deal, but it is a time waster when making large quilts
- Speed regulator: With my old machine I regulated the sewing speed based on how hard I pushed down the pedal – similar to how you regulate your car speed. For small projects this is fine – but when you are sewing a quilt your foot gets tired of holding the position. With a speed regulator you can put the “pedal to the metal”, but the machine won’t go faster than your pre-set speed. Also a cool feature when sewing with kids!
- Auto stitch: With this feature you can start/stop your seam by pushing a button – no foot pedal! Possibly a pain in the patoot for little projects but a blessing for big ones!
- 1-step button-hole: button holes are my personal nemesis. Anything that makes them easier goes on my list of requirements.
- Knee control for presser foot: this was an “optional” requirement for me. The knee control allow you to raise the presser foot with your knee, leaving your hands free to manage the fabric. I think this is useful but I couldnt think of anytime that this was a problem on my old machine.
- Stitch length regulator: this also was an optional feature since it seemed useful, but I think my skills are good enough where this isn’t a necessity.
5. Make a comparison grid: after deciding the features that I wanted, I began searching for machines that fit my criteria. I started with the Juki and Janome brands since the local repairman said they were the best quality machines, but I also included Singer because of my personal experience (great!) and Brother because of the Amazon reviews. Fortunately, many of the machines were available on Amazon, so I could easily see prices and major features, however some of the features were only mentioned on the manufacturers’ website.
- Juki HZL-LB5100
- Janome Magnolia 7318
- Janome DC2014
- Brother PQ1500SL
- Singer C440 Legacy
- Singer 9960 Quantum Stylist
And – here is the spreadsheet I created to track all my research!
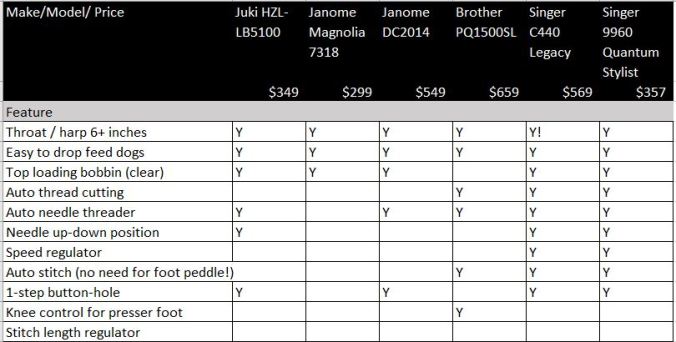
Ultimately, I purchased the Singer 9960. The harp barely met my requirements, but I was more interested in saving the $300 vs buying the Singer C440 Legacy with its larger harp size. I also liked that the Singer has an automatic locking stitch function. I found this on the manufacturer’s website – so don’t rely only on Amazon when you are looking for specific features!


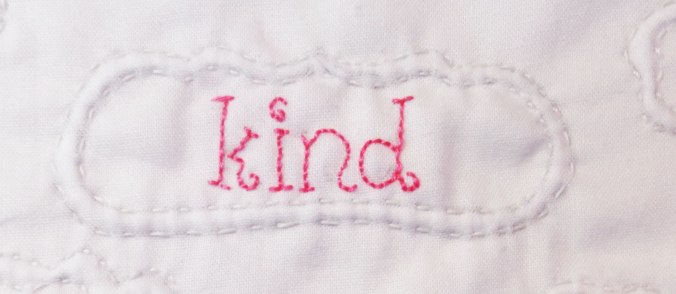


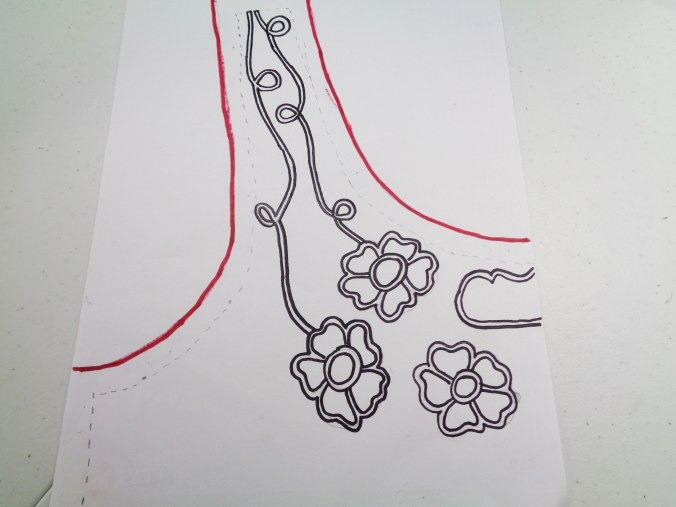
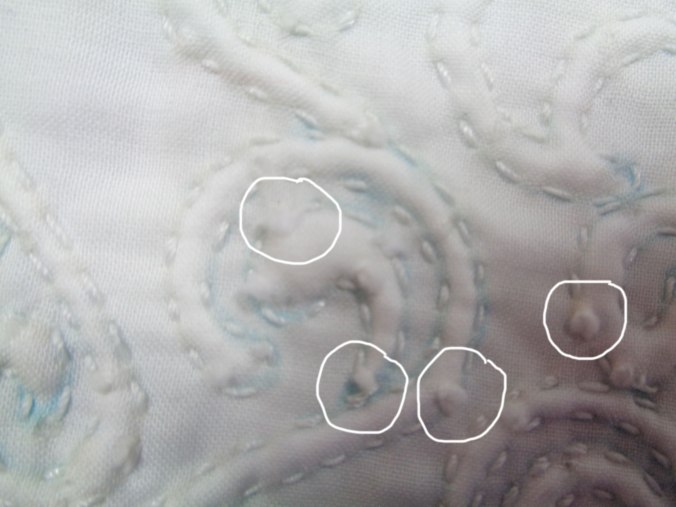
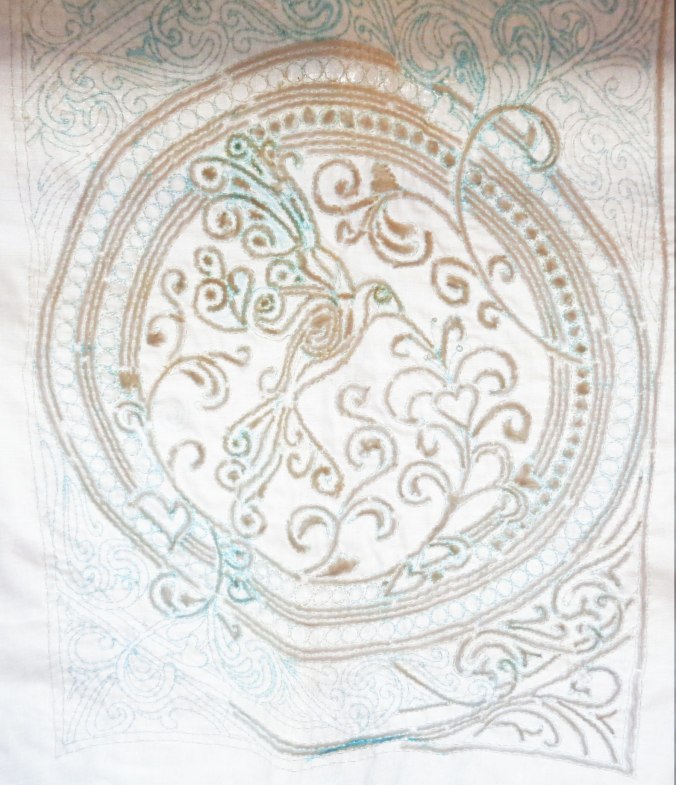
 Here is a close-up of the left side:
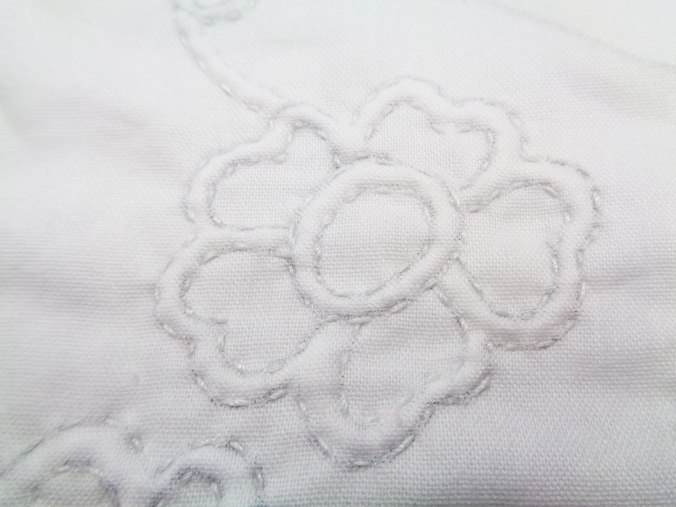 …and a close-up of the right:
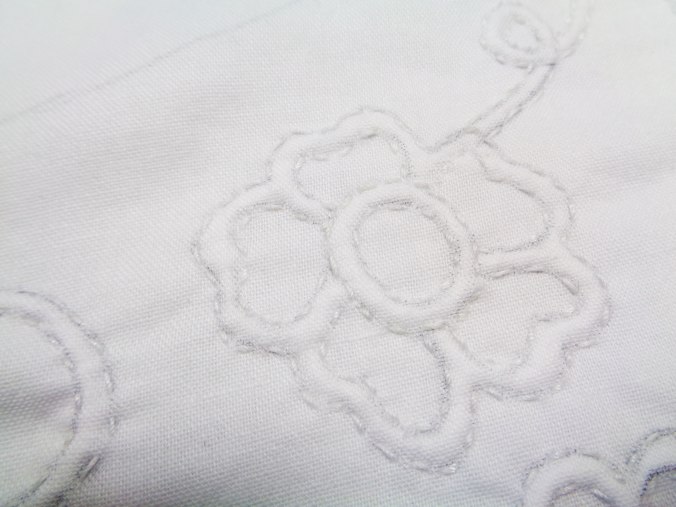 Despite the difference in lighting, the right side (stitched with the hoop) is DEFINITELY smoother and tighter.
 What I learned: I suck at making quilter’s knots! I eventually stopped trying to pop the knots between the layers of the fabric and decided the back would be “knotty.” I am going to do more research and practice until I conquer this task.